INTRODUCTION
Have you deployed a smart contract in Remix IDE, and after refreshing the page (or closing the browser) did not find an interface for interacting with your smart contract? No problem! Interacting with previously deployed smart contracts is an important and common task, especially for developers just starting out in this area.
Remix IDE, an integrated development environment for smart contracts, provides convenient tools and capabilities for interacting with previously deployed smart contracts. In this article, we will look at various methods and techniques that will help you effectively interact with existing contracts in Remix IDE.
So, having deployed the smart contract, you can see the interface for interacting with it in the panel on the left side.

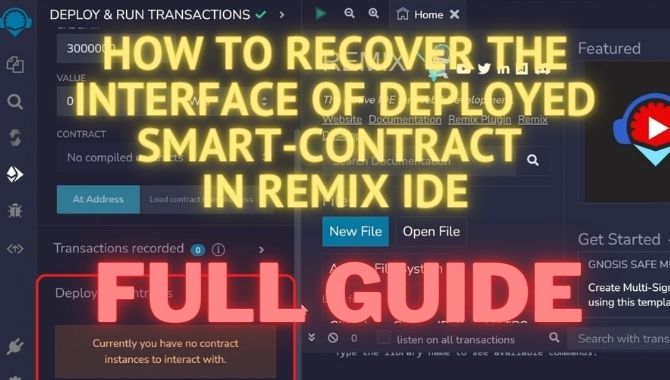
However, if we refresh the page, we will find that in the place where the interface of the previously deployed smart contract was, there is now nothing. Only the message "Currently you have no contract instances to interact with"

But don't worry! Your contract has not disappeared. It is still on the blockchain. And our task now is to restore the interface for interacting with it in the Remix development environment, or in other words, create such an “instance”.
To do this you will need:
- Source code of your smart contract- Address of the deployed contract
- Know the version of the compiler with which your smart contract was deployed
- Know the network in which your smart contract was deployed
- Know the network in which your smart contract was deployed
First of all, open the FILE EXPLORER tab in Remix IDE and select the file that you created earlier to deploy the smart contract. If it is not there, create a new file and paste the source code of the smart contract as shown in the picture below.
Note: It is a good practice to copy the source code of the smart contract you just deployed to a separate text file on your computer. This is useful when you need to restore its interface in Remix IDE, or when you need to Verify and Publish it to a block scanner.

Next, go to the SOLIDITY COMPILER tab and in the drop-down list [1] called COMPILER, select the version of the compiler with which you deployed your smart contract. In my case it is 0.8.19
Next, click the blue button labeled “Compile” and wait for the green checkmark next to the icon of the current tab. This will mean that your smart contract has been compiled successfully.

Next, go to the DEPLOY & RUN TRANSACTIONS tab. In the "Environment" drop-down list, select Injected Provider - Metamask [1]
Make sure you are connected to the correct network. Her ID is shown below [2]
Here are the identifiers for different blockchains:
- Ethereum(ID: 1)- Binance Smart Chain(ID: 56)
- Arbitrum(ID: 42161)
- BASE(ID: 8453)
- Pulse Chain(ID: 369)
- Goerli Testnet(ID: 2)
- Holesky Testnet(ID: 17000)
- Binance Smart Chain Testnet(ID: 97)
The "Account" list will indicate the wallet that is currently connected to Remix IDE [3]. Make sure it has enough funds to execute the functions and has the rights to manage the smart contract.

In the "Contract" drop-down list, you should select the contract that you selected at the deployment stage. If you are using contracts purchased (on our website) ➥, then its name is indicated in the PDF manual.

In this example, this is MyTokenContract[2.1], you can see its name in the code editor window[2.2]

Now you will need the address of the smart contract whose instance you want to create.
Note: You can track the smart contract deployment transaction. To do this, find your wallet address on the block scanner, and among the transactions, find the one with the name “Contract Creation”. With its help, you can find the address that was created during deployment. I will copy it from BscScan:

And I paste it into the field named “Load contract from address”, next to the “At Address” button.

After which all I have to do is click the blue “At Address” button.
If all steps are completed correctly, the interface of your smart contract will appear in the "Deployed Contracts" window and you will be able to interact with it.

As you can see, there is nothing difficult in restoring the interface of an already deployed smart contract. Or, to put it correctly, “create an instance” of a smart contract in Remix IDE. This is a routine operation that you will encounter quite often if you are about to start your journey in the world of DeFi.
📰 MORE TOP HEADLINES